User profile
The profile is the setting in TrackOnline, where you can change your personal settings, such as your username, password and language preference. Profile consists out of four sub-parts, which will each be discussed in this chapter. The sub-parts are the different menu items:
- Profile
- Change password
- Notifications
- Restart guidance tour
- Show terms and conditions
To find your profile in TrackOnline, click on the profile icon, as shown in the image below 'Profile'.
Profile

Profile details
When you have clicked on the profile icon, as shown in the image 'Profile', you will see your profile. Which will look similar to the image below, the image: 'Profile details'.
Profile details
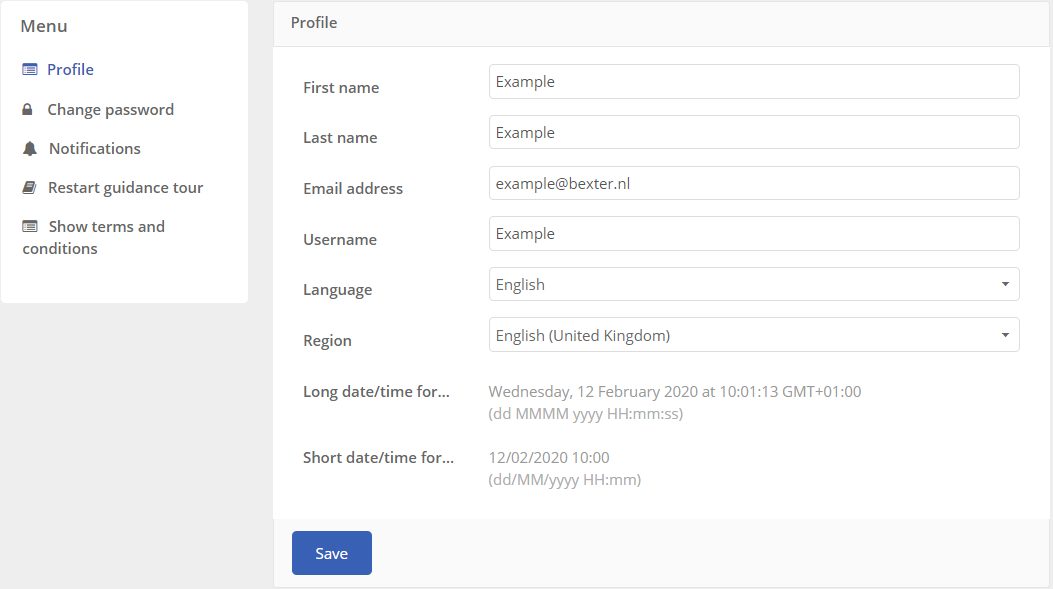
Each element of the profile will be discussed below:
- First name: The first name of the TrackOnline user.
- Last name: The last name of the TrackOnline user.
- Email address: The email address that is linked to your TrackOnline administration. It is also the address from where you will send messages from your TrackOnline administration, such as balance confirmation emails. (ℹ️ Click HERE for more information about balance confirmations).
- Username: The username from which you will be able to log in to your TrackOnline administration. The username in combination with the password gives access to TrackOnline.
- Language: Here you can change the administration language, choose from various languages.
- Region: Here you can change the region settings. Changing the region can impact the sequence that you will see for example the dates in TrackOnline (DD/MM/YYYY for continental Europe and MM/DD/YYYY for the United states). You can see the changes in the long/short date & time format.
- Long date/time format: The long date/time format will show you how the date and time will be shown as long notation, with the selected region.
- Short date/time format: The short date/time format will show you how the date and time will be shown as short notation, with the selected region.
When you have changed every element to your preference, you can click on the  button on the bottom of the screen.
Change password
When you click on the menu item ‘Change password’ you will see the following screen:
Change password
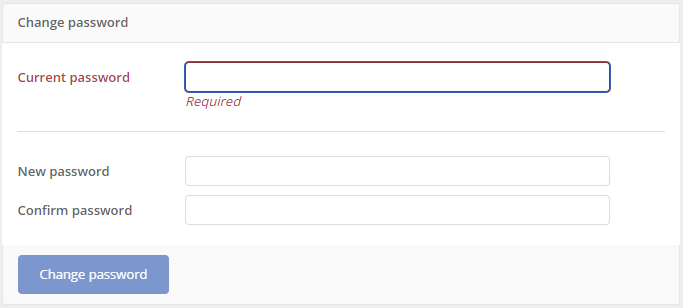
In order to change your password, first enter your current password in the ‘current password’ row, then enter your new password in both the ‘New password’ row and the ‘Confirm password’ row. Both passwords in the latter have to be identical.
When you have done all of the above, you can click on ‘Change password’ to save the new password. Next time when you log in in TrackOnline, you have to use your new password.
Notifications
The notifications section of profile allows you to configure two different settings, which are:
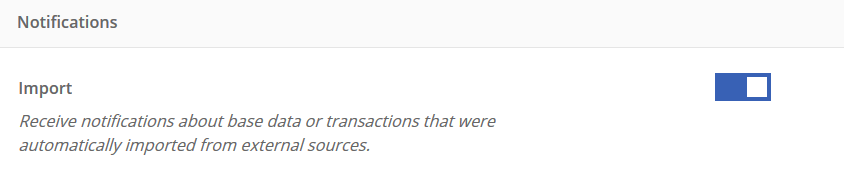
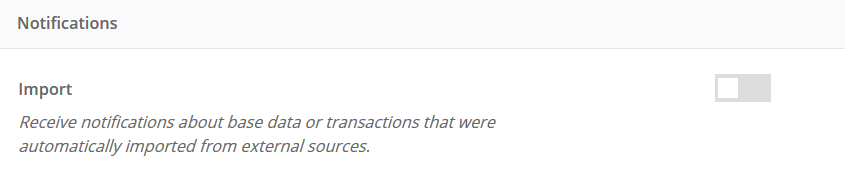
- Import: Receive notifications about base data or transactions that were automatically imported from external sources.
When the switch is blue, this means this setting is activated, so you will receive these messages in your notification centre on the top right of your TrackOnline administration.
Import button switched on
Import button switched off
- System: Receive information about the system, such as new updates.
An example of a system update is a confirmation of a balance confirmation. When the switch is blue, as shown in the image below, the system information is switched on.
System switched on

System switched off

- Chat: Receive notifications about new messages on transactions from external sources.
When the switch is blue, this means this setting is activated, so you will receive messages about new chats in your notification centre on the top right of your TrackOnline administration.
Chat switched on

Chat switched off

Show terms and conditions
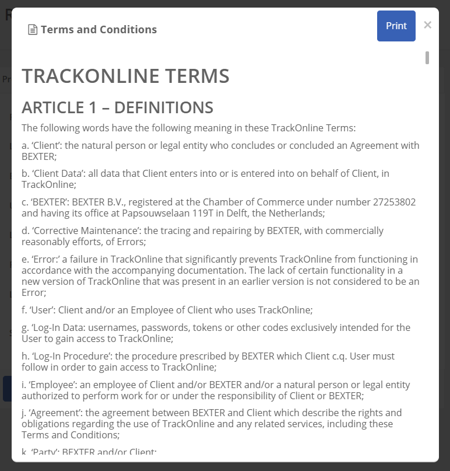
These are the terms and conditions that apply while using TrackOnline. You can print them by clicking on the Print button.