Transaction Fields
In this chapter you can find an overview of all the transaction fields that can be edited. The user can update the quantities, area, attachments and the external notes in order to provide the transaction with correct, up to date information. These fields will have an 'edit' button. 
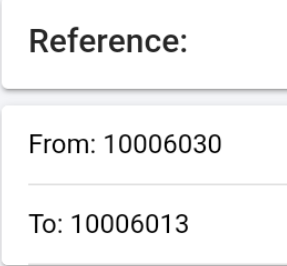
References
The reference shows the From and To Location. For now the locations can not be edited, since you can only view the transactions and edit those fields that are documented here. This can be only be done in the TrackOnline web app only if you are authorized to do so.
Items
In either screen you can click on the item picture to enlarge it. If you click edit you can enter a new value for the particular item. The area (part of the warehouse/building where loading/unloading of transport vehicles takes place) can be viewed and edited here. 
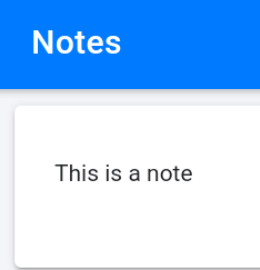
Notes
Here you can view all notes (not internal notes)
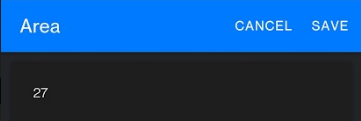
Area
The area (part of the warehouse/building where loading/unloading of transport vehicles takes place) can be viewed and edited here.
Attachments
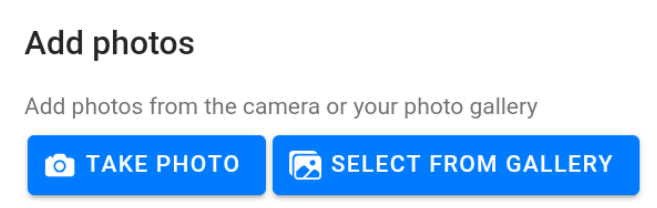
You can add and edit one or multiple pictures for a particular transaction and you can view and download other types of attachments. From the TO Mobile app you can only upload picture file types for now. You can either:
- Add picture from camera: Tap on this button to open the camera. You can now take a picture that will be attached to the transaction.
- Add picture from gallery: Tap on this button to open the gallery and select a picture to attach to the transaction.
Via the web app you can also upload pdf's and word files that can be downloaded through the Mobile App by clicking on the Eye Icon and subsequently click on the Download button in the file screen that appears. If available, you also view the transaction document from a processed transaction:
- Show transaction document: Tap on this button to download the transaction document. Generating the document can take a few seconds.

Required Signatures
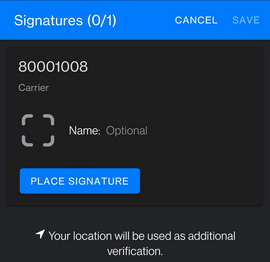
Here you can enter and edit your signature. In order for this field to be active, the administrator (or user with Configuration rights for the Transaction Process) needs to set this up in the web application (see orange section below). You can draw a new one or edit the existing signature (only if not Saved yet) and you can optionally enter your name before signing. You can do so by clicking on the Signature Button underneath the "Required Signatures": 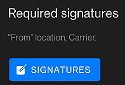
After signing the transaction will move the transaction to the next default status. If more than 1 person has to sign, there will be a signature box visible for the From Location/To Location/Carrier. The signature screens look as follows:

ℹ️ Click Here for more detailed info on the workings of signing a transaction
Visibility Signature Option:
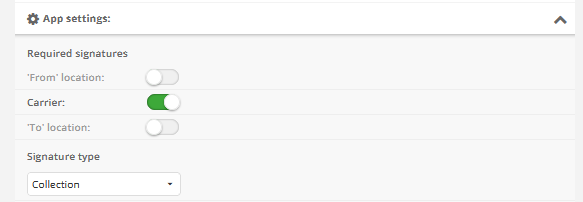
In order to have the option to sign a transaction and thereby move it to the next the status, you will need to set it up in the TO Web App under the Transaction Process Screen. The authorized user has to go to settings via the settings wheel:  > "{Transactions}" > "{Edit} Transaction Process" > "App Settings V" . You will then be presented with the following options, where you can choose per status (first click on the required colored status block) whether the From/To/Carrier has to sign (multiple selections possible):
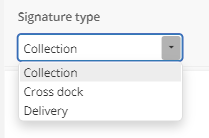
Additionally, you can decide wether a signature needs to be given for Collection/Cross-Dock/Delivery by selecting the right value in the dropdown underneath.
After saving, a transaction document is created and the signatures can be viewed in the Trackonline Web App by clicking on the signage icon on the top right (also see). This is an example of 2 saved signatures where a transaction has moved from New to the next status by signing (see the ℹ️ above for more info):
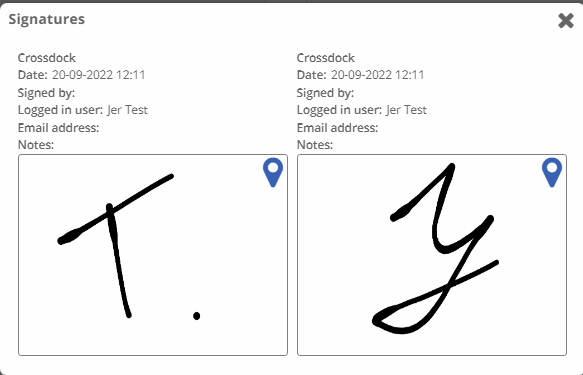 .
.