User
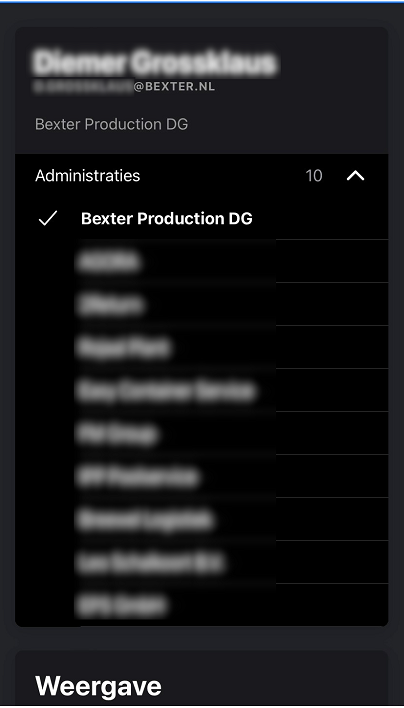
In this screen you can edit settings like the language and set up the filter function. You can also choose which screens you want to have visible in the display section. This is also the screen, where you can switch administrations, if the user (with similar email address) has access to multiple administrations.
Furthermore, you can view the specifications of the app and ie. check out which version you are using and check the memory usage.
User Info
In the top bar you can see the following info about the logged in user:
- Name
- Name of the Administration logged into (this can be changed if you have the upcoming version of the app)
Administrations
If you have access to multiple administrations, this is the screen where you can switch between administrations. Just select another administration you have access to from the list that can be opened with the V icon:

Display
In this section you can toggle the screens you use on or off.
- Search
- Transactions
- Trips
The Trips screen is likely disabled by default
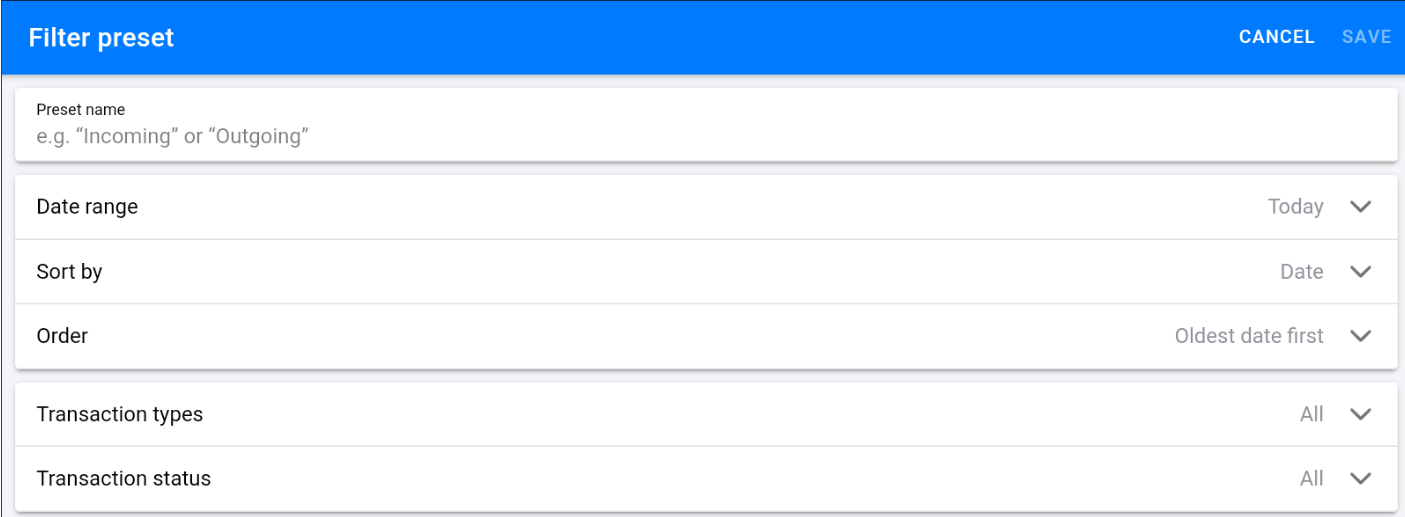
Filter Presets
By setting up filters you can choose the to filter on specific entities. 
After setting a name which you need for saving the filter, you can set up the following:
Date range (the standard ranges that you are used to from the web app)
Sort: Let's you choose between:
- Date
- Date Counterpart
Order: for direction of the sorting_ In the next bar, through a multiselect option, you can also decide the only show all/certain:
Transaction types
Transaction status
Press Save to save your filter and use it in the transaction screen
Show Technical Information
The following data is displayed within this section:
| Entity Group | Data |
|---|---|
| General | Environment |
| App | Version |
| Build Number | |
| Name | |
| Identifier | |
| Device | Model |
| Webview Version | |
| Operating System | |
| Memory Usage |
